New Pilot Experience - 22nd of August
Recap!
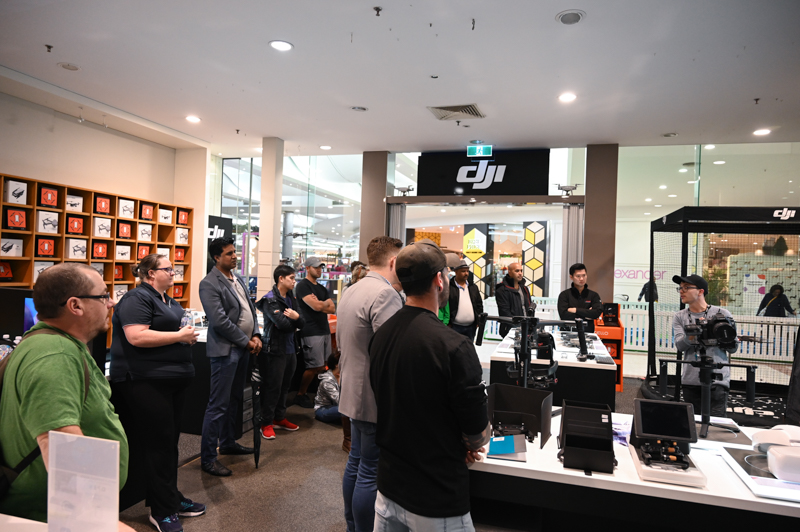
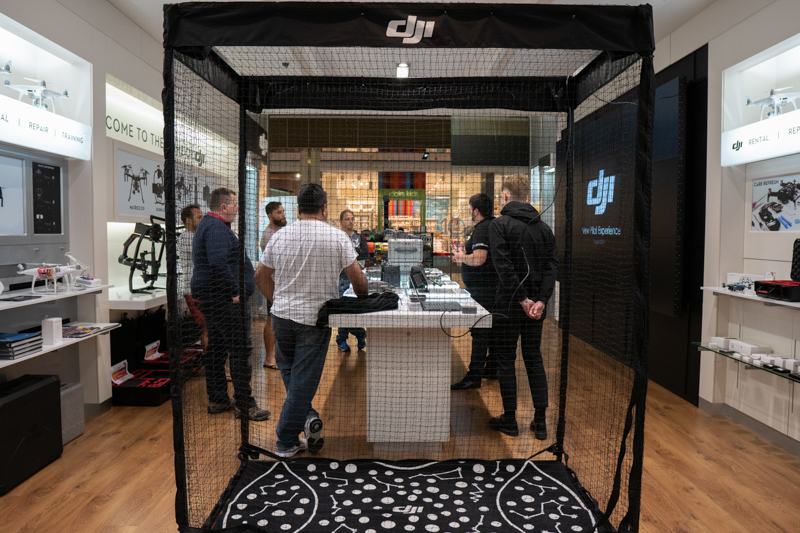
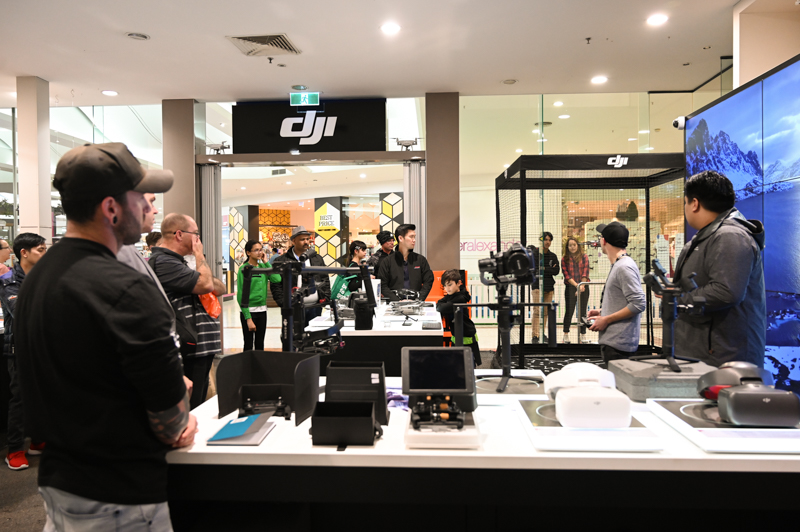
On Thursday night, 6-8PM, DJI store hosted their Fourth New Pilot Experience across all stores. Our stores saw the highest number of attendees of this Month, many packing the stores full! This was the most successful drone workshop to date!
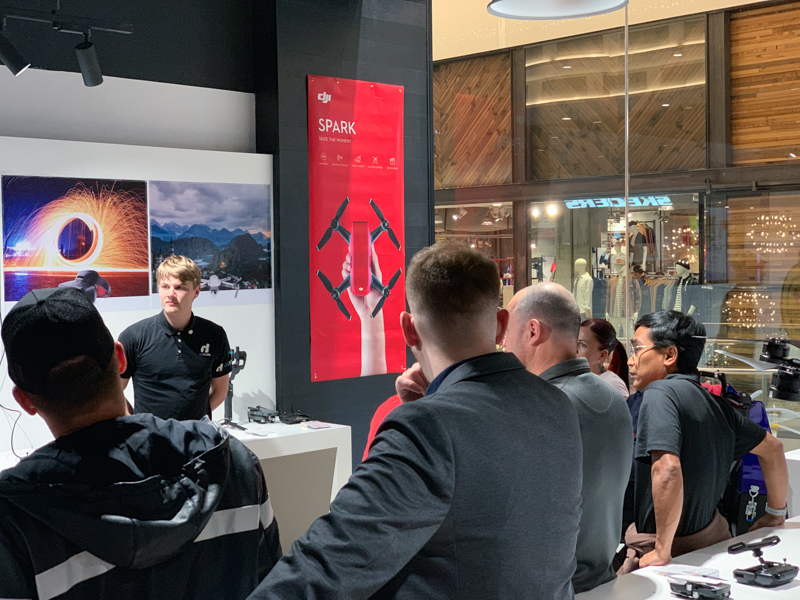
The two hour course took pilots, with varying levels of experience, through some of the basics to the more intermediate skills. Some of the topics that were covered included pre/post flight checklists as well as photography/videography settings. Whilst flying the drone may be the easy, having the ability to capture banging photos and videos is the hardest part. There are so many variables at play when it comes to photography and taking an impressive photo. Our presenters were able to share their knowledge and experiences with drone photography. A lot of them have their own photography Instagram account and are closely tied to the Australian Drone Instagram community. They showed some perfect examples of some very achievable results. Our store also has an Instagram account were we post inspirational and mind-blowing photos from Instagram around the world. (@djistoreau).
Furthermore, the workshop also had many questions asked and answered, boosting everyone's confidence when using the drone. We encourage people to ask as many questions as possible. Each week, we try and add those questions into the course to ensure that it is fresh and relevant! We highly recommend you to sign-up if you haven't already as it is definitely worth it! Click here to sign up!
Feedback from the evening!
"This was by far the best drone workshop I have ever been to; (this honestly better than the paid ones!). I cannot thank you and your presenters enough for giving me the confidence to go fly again. The drone community isn’t friendly to beginners and this workshop was just so warm and welcoming. I will highly recommend this to my friends..." — Julie
"...just wanted to provide some feedback on last night’s training session. It was brilliant – very informative, easy to understand and certainly helpful (eventhough I’ve had my drone for over a year). Both trainers (Macgregor and Tim) were extremely knowledgeable, enthusiastic and excellent presenters.
I hope you continue the sessions – hearing first hand from the experts and also other drone users was invaluable .
2Hrs well spent! " — Wendy
Question of the week!
What is the best manual settings when taking a photos?
This is probably one of the most asked questions in the drone community. As mentioned before, once the art of the flying is mastered, the photo portion is next to master. Our presenters will be going through this each week if you want a demo in real life, if not, I will try to explain this as succinct as possible.
Shutter speed is the speed at which the "shutter" opens to take a photo. This shutter limits the amount of light that enters the sensor at the specified speed. This can also determine what type of photo you want. Shooting at a very quick shutter speed means less light and action will be in the photo. A slower shutter speed means more light enters the sensor and more motion is captured.
For example; if you are shooting a waterfall and use 1/4000, you would be able to see the individual water particles as they fall. Shooting at 1/60 will introduce blur as the action is not "frozen" in time, instead the water has enough time to fall a couple of CM before the shutter closes. It must be noted that shooting at very low shutter speeds with a drone may introduce unwanted blurring due to wind, drone drift and other factors. I suggest shooting in tripod mode when taking shots that involve slower shutter speeds as this will ensure that no unwanted blurring occurs. 1" is equivalent to 1 second.
Aperture is only adjustable on the Mavic 2 Pro, Phantom 4 Pro and Inspire 2. This controls the amount of light enters into the lens and is responsible for depth of field, basically to what extent is the image in focus. The higher the aperture, the less light enters the sensor but more things are in focus. Same goes the other way, the lower the aperture, the more light enters the sensor but less of the image is in focus.
ISO. As a photographer, I suggest shooting at the lowest ISO possible as ISO determines how sensitive the sensor is to light. If the sensitivity is increased, artificial artifacts are introduced into the image as noise/grain and can ruin an image especially at night where blacks turn into purples. Shooting at the lowest ISO possible is a great start.
To master your camera is to master shooting photos whilst adjusting all three settings to suit the image you want. This is commonly known as the exposure triangle were all three settings will affect the exposure in different ways. We want to aim to hit that sweet spot, which is +-0.0 EV. That means that the image is exposed "correctly". Since the Mavic 2 Pro has a really good dynamic range, it is recommended to overexpose and bring down the highlights in post (when you edit in your editing suite).
The best way to go about this is to determine what you are shooting, whether that be a landscape, moving object, stationary object, low-light or long exposure.
For Landscapes, a higher aperture is recommended (around f5.6) to get the best clarity and focus. Adjust the other settings around this to get the perfect exposure!
For Moving objects, a higher shutter speed is recommended to ensure they show no motion blur. Adjust the other settings around this to get the perfect exposure!
For Low-light, a low ISO and relatively high shutter (to avoid movement blur) to get the best photo outcome.

Further Comments
The Thursday was also the launch of another DJI sales period (which are limited) were our customers could save up to 20% on their desired products. Some of these products were showcased during the drone workshop as an interval. The OSMO Action and the OSMO Pocket were major highlights as both these products are transforming the way people generate content and share content. The Pocket having amazing stability allows you to share videos without the stress of it being shaky or unwatchable. Having a 4K resolution is also beneficial when it comes to video editing as you are able to crop in. As most media is consumed on mobile devices these days, FULL HD is normally enough as anything beyond that is hard to tell the details (apart from the observed sharpness). The Pocket is currently on sale for $70 off at the price of $529 and the Action now comes with a free battery at the same retail price of $499. These prices cannot stay forever and will end on the 4th of September.

Don't miss out on this FREE (only for a limited time) event!
If you have any questions regarding the NPE or this article, please do not hesitate to contact us at info@d1store.com.au.